

Easy Cherry Pie: A Slice of Nostalgia
Easy Cherry Pie is not just a dessert; it’s a delightful experience that brings back fond memories of family gatherings and summer picnics. This classic American treat has roots that trace back to the early settlers who brought their love for fruit pies to the New World. Over the years, cherry pie has become a symbol of comfort and celebration, often featured at holidays and special occasions.
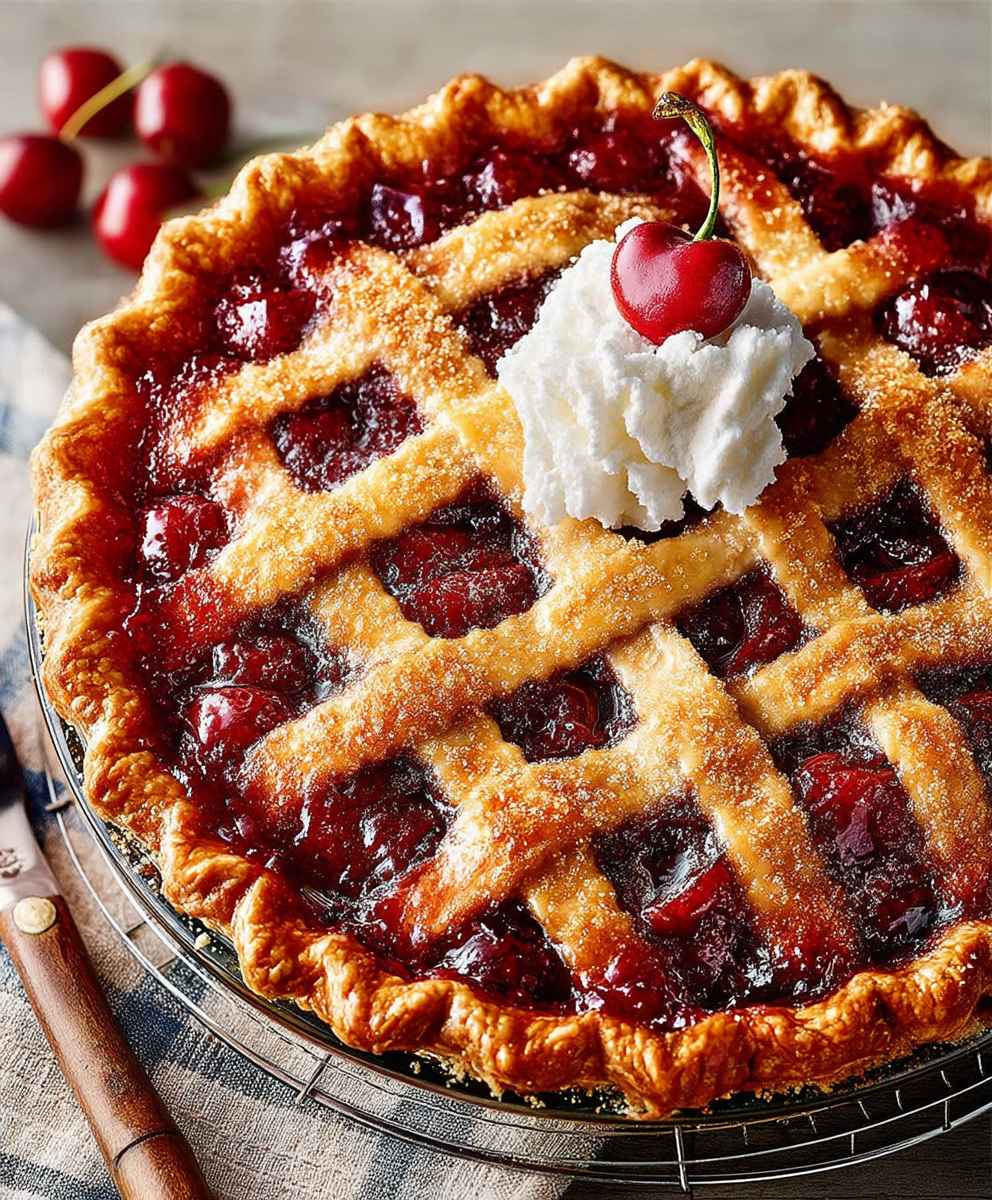
What makes Easy Cherry Pie so beloved? It’s the perfect balance of sweet and tart flavors, combined with a flaky, buttery crust that melts in your mouth. The vibrant red cherries create a stunning visual appeal, making it a showstopper on any dessert table. Plus, this recipe is incredibly convenient, allowing you to whip up a delicious pie in no time, whether you’re a seasoned baker or a novice in the kitchen.
Join me as we dive into this delightful recipe that promises to satisfy your sweet tooth and impress your guests. With Easy Cherry Pie, you’ll discover that creating a homemade dessert can be both simple and rewarding!

Ingredients:
- 2 cups fresh or frozen cherries, pitted
- 1 cup granulated sugar
- 2 tablespoons cornstarch
- 1 tablespoon lemon juice
- 1 teaspoon vanilla extract
- 1/4 teaspoon almond extract (optional)
- 1/4 teaspoon salt
- 1 tablespoon butter, cut into small pieces
- 1 package refrigerated pie crusts (2 crusts)
- 1 egg, beaten (for egg wash)
- 1 tablespoon sugar (for sprinkling on top)
Preparing the Cherry Filling
- In a large mixing bowl, combine the pitted cherries and granulated sugar. If you are using frozen cherries, make sure they are thawed and drained before adding them to the bowl.
- Add the cornstarch to the cherry mixture. This will help thicken the filling as it cooks. Stir well to ensure the cherries are evenly coated.
- Pour in the lemon juice, vanilla extract, and almond extract (if using). The lemon juice adds a nice tartness that balances the sweetness of the cherries. Mix everything together gently until well combined.
- Sprinkle in the salt and mix again. The salt enhances the flavors of the cherries and sugar.
- Let the cherry filling sit for about 10-15 minutes. This allows the juices to release from the cherries, creating a flavorful syrup.
Preparing the Pie Crust
- Preheat your oven to 425°F (220°C). This high temperature will help create a flaky crust.
- While the oven is preheating, take the refrigerated pie crusts out of the package. Unroll one of the crusts and fit it into a 9-inch pie pan. Make sure to press it gently into the bottom and sides of the pan.
- Trim any excess crust hanging over the edges of the pie pan, leaving about 1 inch of overhang. This will allow you to fold the edges over the top crust later.
- Pour the cherry filling into the prepared crust, spreading it evenly. Make sure to include all the juices from the bowl.
- Dot the filling with small pieces of butter. This will add richness and flavor to the pie.
- Unroll the second pie crust and place it over the cherry filling. You can either leave it whole or cut slits in it to create a lattice pattern. If you choose to make a lattice, cut the crust into strips and weave them over the filling.
Sealing and Preparing for Baking
- Once the top crust is in place, fold the overhanging edge of the bottom crust over the top crust. Pinch the edges together to seal the pie. You can use a fork to crimp the edges for a decorative touch.
- Using a sharp knife, cut a few small slits in the top crust if you haven’t made a lattice. This allows steam to escape while baking and prevents the pie from bubbling over.
- Brush the top crust with the beaten egg. This will give the pie a beautiful golden color as it bakes.
- Sprinkle a tablespoon of sugar over the top crust for added sweetness and a nice crunch.
Baking the Pie
- Place the pie on a baking sheet to catch any drips that may occur while baking. This will save you from a messy oven!
- Carefully transfer the pie to the preheated oven. Bake for 15 minutes at 425°F (220°C).
- After 15 minutes, reduce the oven temperature to 350°F (175°C) and continue baking for an additional 30-35 minutes. The pie is done when the crust is golden brown and the filling is bubbling.
- If the edges of the crust start to brown too quickly, cover them with strips of aluminum foil to prevent burning.
Cooling and Serving
- Once the pie is baked, remove it from the oven and let it cool on a wire rack for at least 2 hours. This cooling
Conclusion:
If you’re looking for a dessert that’s both simple to make and utterly delicious, this Easy Cherry Pie is a must-try! With its flaky crust and sweet, tangy cherry filling, it’s the perfect way to celebrate any occasion or simply indulge in a sweet treat after dinner. The best part? You don’t need to be a baking expert to whip this up; even novice bakers will find success with this straightforward recipe.
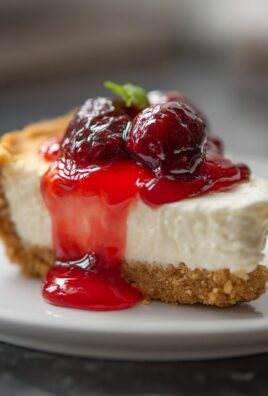
One of the great things about this Easy Cherry Pie is its versatility. You can serve it warm with a scoop of vanilla ice cream for a classic dessert experience, or enjoy it cold with a dollop of whipped cream for a refreshing treat. If you’re feeling adventurous, consider adding a sprinkle of almond extract to the filling for an extra layer of flavor, or mix in some blueberries for a delightful twist. You could also experiment with different crusts, such as a crumb topping or a lattice design, to give your pie a unique touch.
I encourage you to gather your ingredients and give this Easy Cherry Pie a try! It’s a fantastic way to impress your family and friends, and I promise they’ll be asking for seconds. Once you’ve made it, don’t forget to share your experience! I’d love to hear how it turned out for you. Did you stick to the classic recipe, or did you try out any fun variations? Sharing your photos and tips on social media can inspire others to dive into their own baking adventures.
So, roll up your sleeves, preheat that oven, and let the sweet aroma of cherry pie fill your kitchen. This Easy Cherry Pie is not just a dessert; it’s a delightful experience that brings people together. Whether it’s a family gathering, a picnic, or just a cozy night in, this pie is sure to be a hit. Happy baking, and I can’t wait to see your delicious creations!
Easy Cherry Pie: A Simple Recipe for Delicious Homemade Dessert
Enjoy a delightful homemade cherry pie with a flaky crust and a sweet-tart cherry filling. This classic dessert is perfect for any gathering and is sure to impress with its vibrant flavors and inviting aroma. Serve it warm or at room temperature, and consider pairing it with a scoop of vanilla ice cream for an extra treat!
Ingredients
- 2 cups fresh or frozen cherries, pitted
- 1 cup granulated sugar
- 2 tablespoons cornstarch
- 1 tablespoon lemon juice
- 1 teaspoon vanilla extract
- 1/4 teaspoon almond extract (optional)
- 1/4 teaspoon salt
- 1 tablespoon butter, cut into small pieces
- 1 package refrigerated pie crusts (2 crusts)
- 1 egg, beaten (for egg wash)
- 1 tablespoon sugar (for sprinkling on top)
Instructions
- In a large mixing bowl, combine the pitted cherries and granulated sugar. If using frozen cherries, ensure they are thawed and drained.
- Add the cornstarch to the cherry mixture and stir well to coat the cherries evenly.
- Pour in the lemon juice, vanilla extract, and almond extract (if using). Mix gently until well combined.
- Sprinkle in the salt and mix again to enhance the flavors.
- Let the cherry filling sit for about 10-15 minutes to allow the juices to release.
- Preheat your oven to 425°F (220°C).
- Unroll one pie crust and fit it into a 9-inch pie pan, pressing gently into the bottom and sides.
- Trim excess crust, leaving about 1 inch of overhang.
- Pour the cherry filling into the prepared crust, spreading it evenly and including all juices.
- Dot the filling with small pieces of butter.
- Unroll the second pie crust and place it over the filling. You can leave it whole or cut slits for a lattice pattern.
- Fold the overhanging edge of the bottom crust over the top crust and pinch to seal. Crimp edges with a fork for decoration.
- Cut a few small slits in the top crust for steam to escape.
- Brush the top crust with the beaten egg for a golden finish.
- Sprinkle a tablespoon of sugar over the top crust.
- Place the pie on a baking sheet to catch drips.
- Transfer the pie to the preheated oven and bake for 15 minutes at 425°F (220°C).
- Reduce the temperature to 350°F (175°C) and continue baking for an additional 30-35 minutes, until the crust is golden and the filling is bubbling.
- If edges brown too quickly, cover with aluminum foil.
- Remove the pie from the oven and let it cool on a wire rack for at least 2 hours before serving.
Notes
- For a deeper flavor, consider adding a pinch of cinnamon or nutmeg to the cherry filling.
- Serve warm or at room temperature, optionally with a scoop of vanilla ice cream.


Leave a Comment